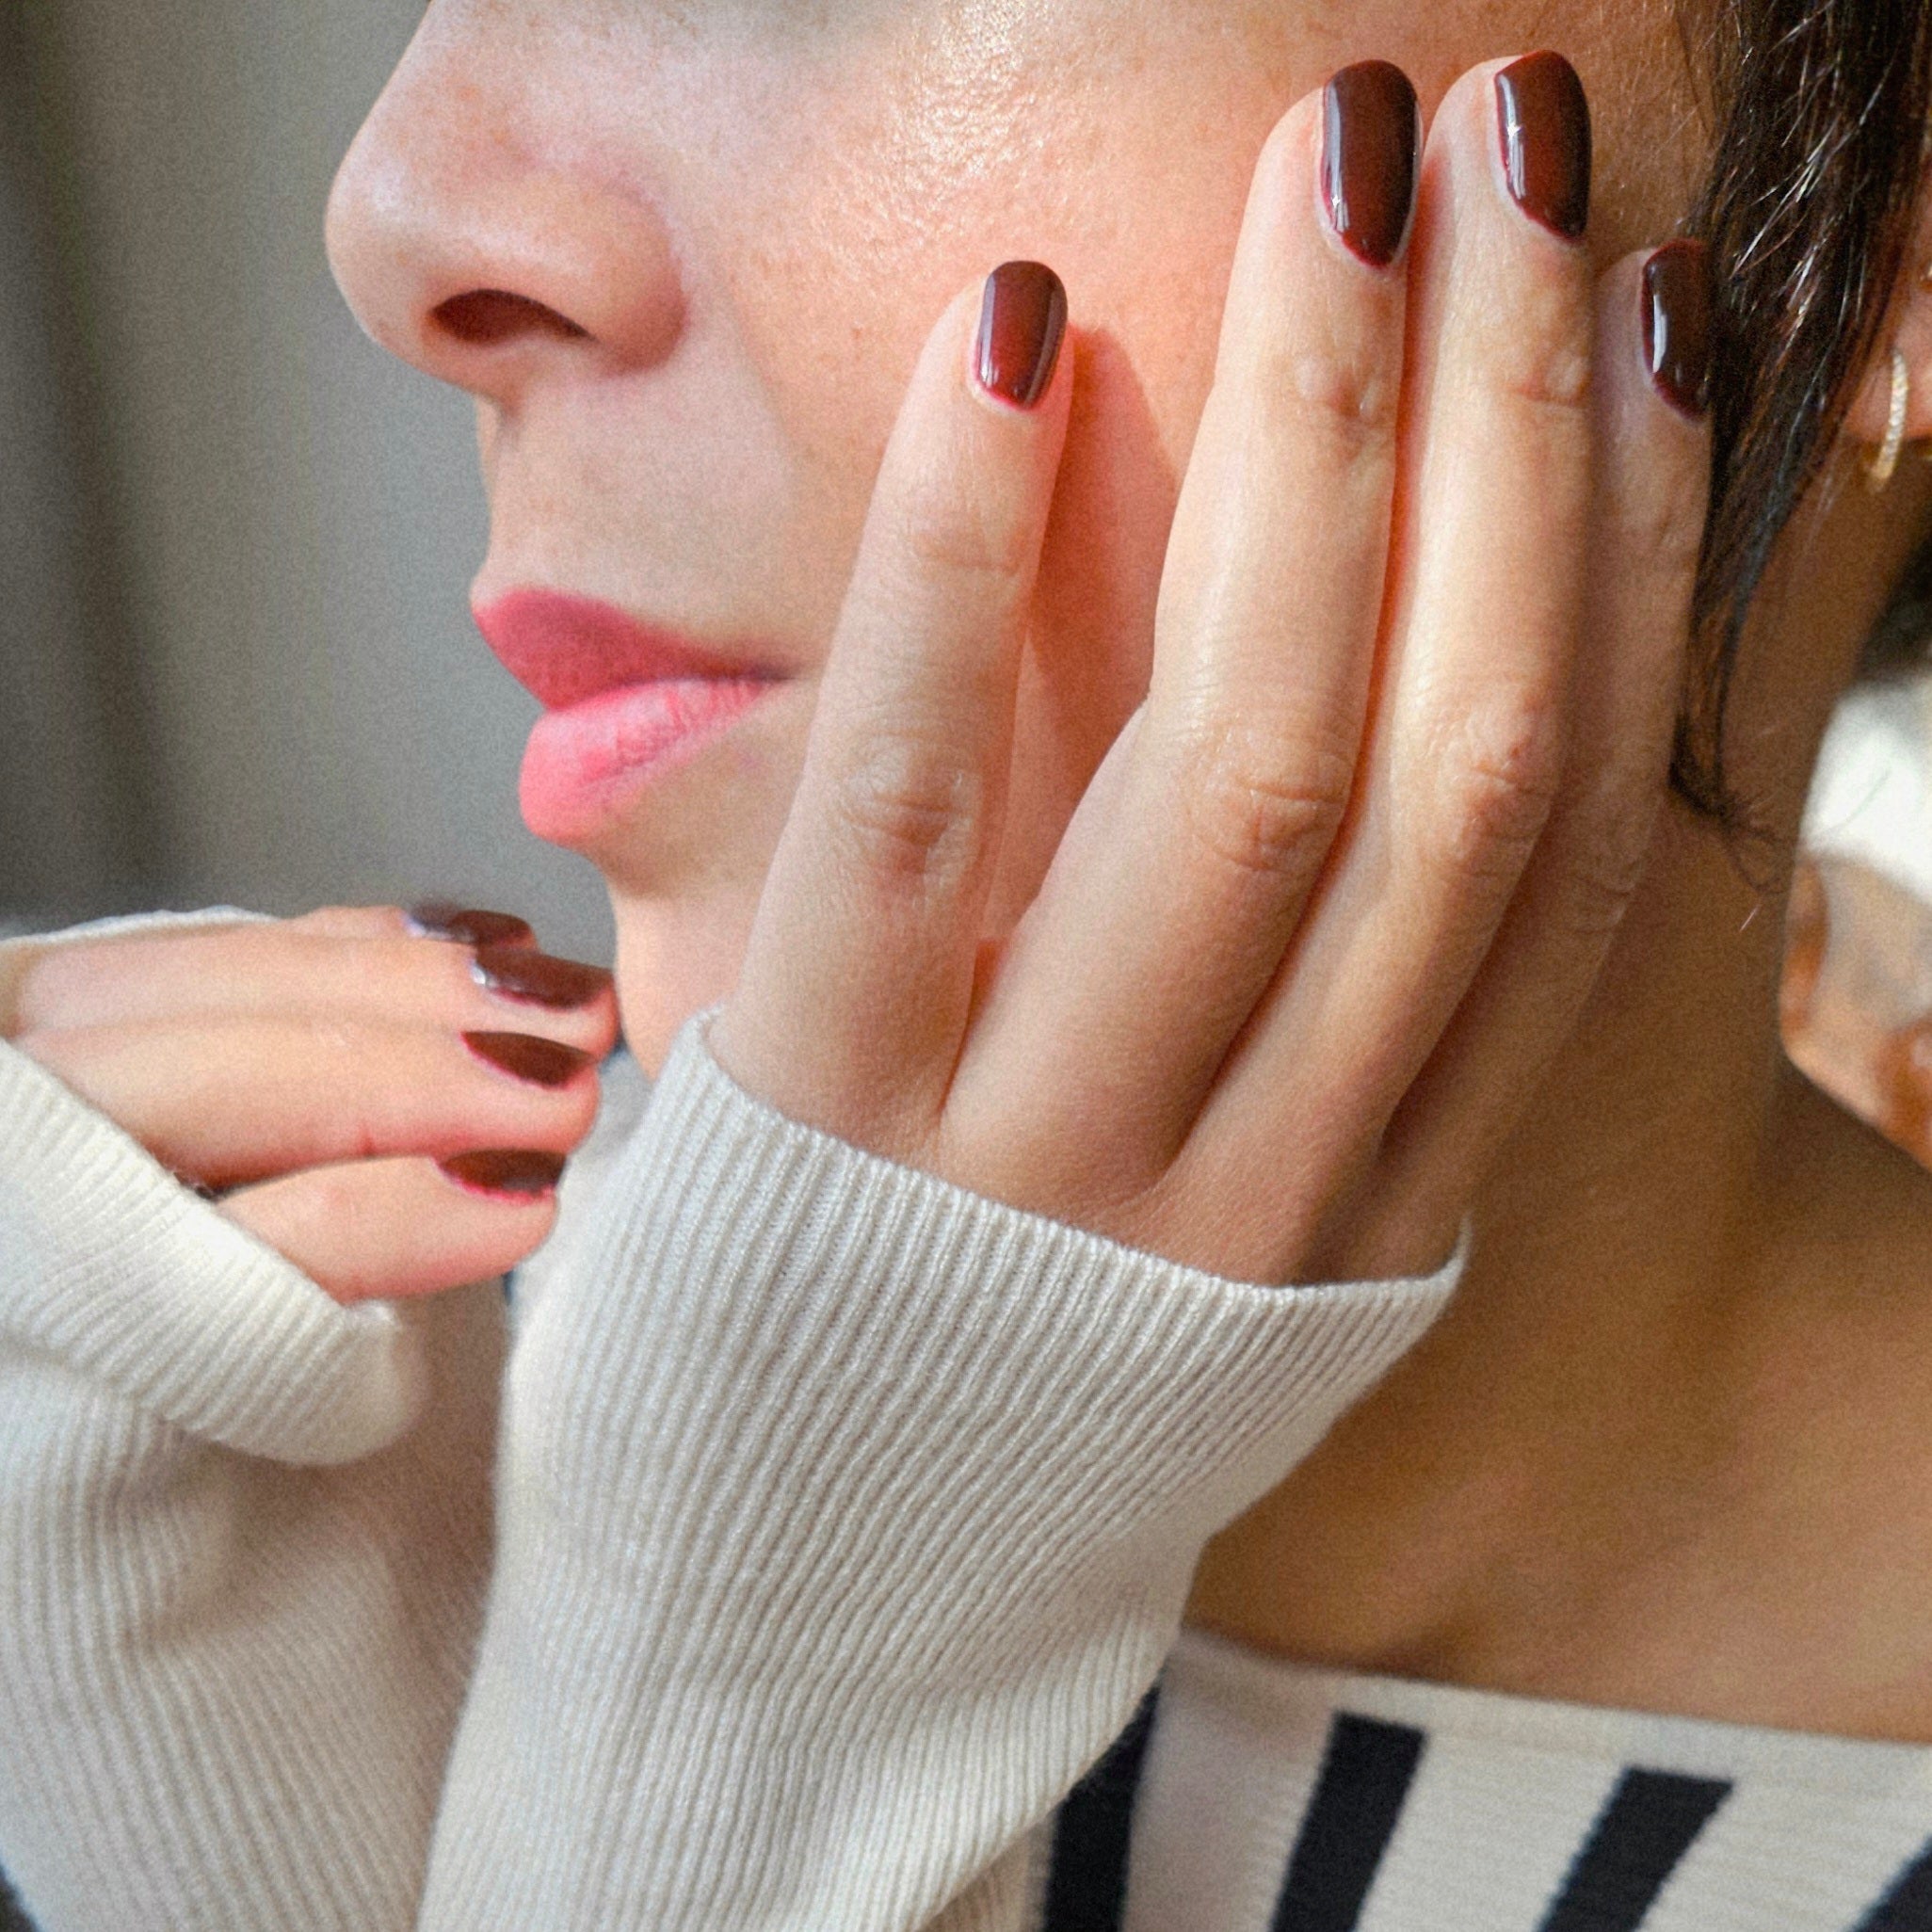
Applying Gel Polish is not difficult, but it is important that you do the steps in the right order and follow them well. Here you will find our step-by-step instructions with photos.
You can also go to our Instagram , where you will find these steps in a video under the highlights.
Step 1 - Preparing the nails
With the Nail Pusher you push back the cuticles well. You can also use this tool to scrape off skins from the nail bed.File the nails into the desired shape with the nail file .

With the Bufferblok you roughen the nails. This removes loose skin, dead skin cells and residual fat. Don't overdo it, it's about roughening so you don't have to remove a layer of your nails.
Remove any dust from the area where the nails will be painted.
Degrease the nails with the Cleaner . Make sure that the nails remain grease-free before applying the nail polish. When touching your face or hair, the nail can quickly become greasy and this is not good for the adhesion.

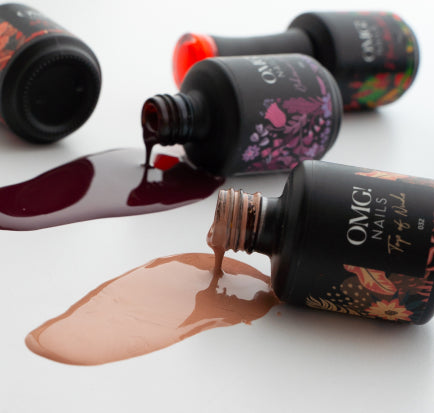
Step 2 - Apply base coat
Apply a thin layer of the Basecoat . Make sure that the basecoat does not touch the cuticles and the surrounding skin. So keep some distance and do not use too much product. If the skin is touched, air will slowly get under the basecoat and the nail polish can come off.
Also lightly paint the edge of the nail. This will seal the edge.
If a small amount of base coat does end up on the cuticles or skin, use the sharp point of the Scraper to remove it.
Let the base coat cure for 60 seconds under the Pro LED lamp .
After curing, a sticky layer remains. Do not remove this and ensure that the nail bed does not come into contact with dust or grease. Make sure that you do not touch anything or hit the nail

Step 3 Applying color
- Apply a thin layer of the color, taking care, as with the base coat, to avoid the cuticles and surrounding skin.
- Also paint the edge of the nail.
- If a small amount of color polish does get onto your cuticles or skin, use the sharp tip of the OMG! Nails Tools Scraper to remove it.
- Cure the first coat of color for 60 seconds under the OMG! Nails Pro LED lamp.
- After curing, a sticky layer remains. Do not remove this and ensure that the nail bed does not come into contact with dust or grease. Make sure that you do not touch anything or hit the nail.

Repeat this step one more time. Not all colours cover at once. The best result is achieved with 2 thin layers of colour.

Step 4 Apply top coat
Apply a thin layer of OMG! Nails Top Coat, taking care, as in the previous steps, to avoid the cuticles and surrounding skin.
Paint the edge of the nail. The top coat seals your manicure and this is a very important step for the best result.
If a small amount of top coat does get on your cuticles or skin, use the sharp tip of the OMG! Nails Tools Scraper to remove it.
Cure the top coat for 60 seconds under the OMG! Nails Pro LED lamp.

Step 5 Remove adhesive layer
Top Coat No Wipe
The OMG! Nails Top Coat No Wipe is a top coat that does not leave a sticky layer and you do not have to remove it. This top coat is suitable for darker colors and when the sun does not show itself too often. Do not wipe the nails, otherwise you can get a dull result.
Regular OMG! Nails Top Coat
The normal OMG! Nails Top Coat does leave a sticky layer. When the nail has cooled down sufficiently from the LED lamp, clean the nails with the Nail Wipes and a little Cleaner. This top coat is suitable for lighter colours. Sunlight can cause stains and this top coat contains a UV filter which protects your nails better against sunlight. This is especially recommended for light colours and in the summer. In the winter you can also use the Top Coat No Wipe.