

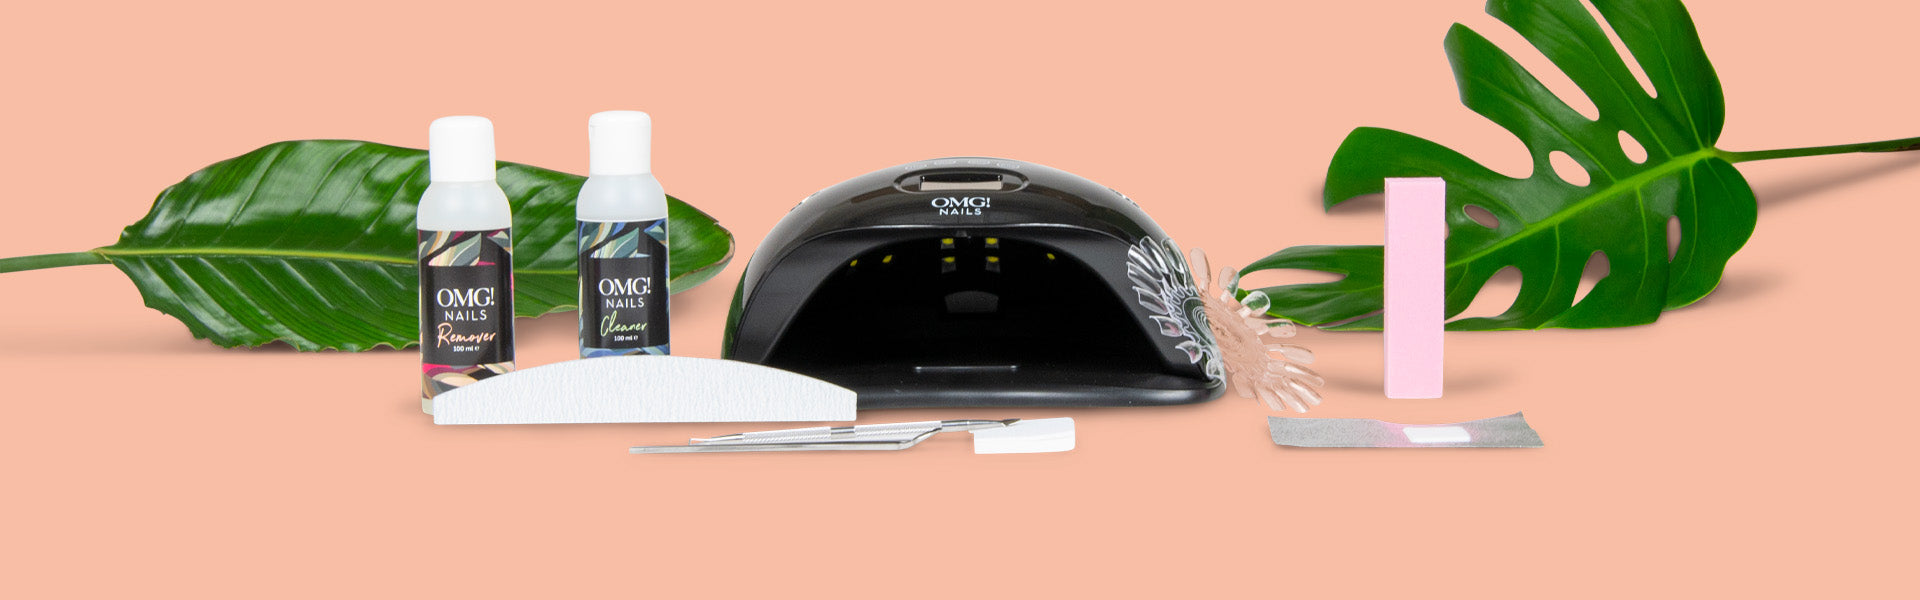


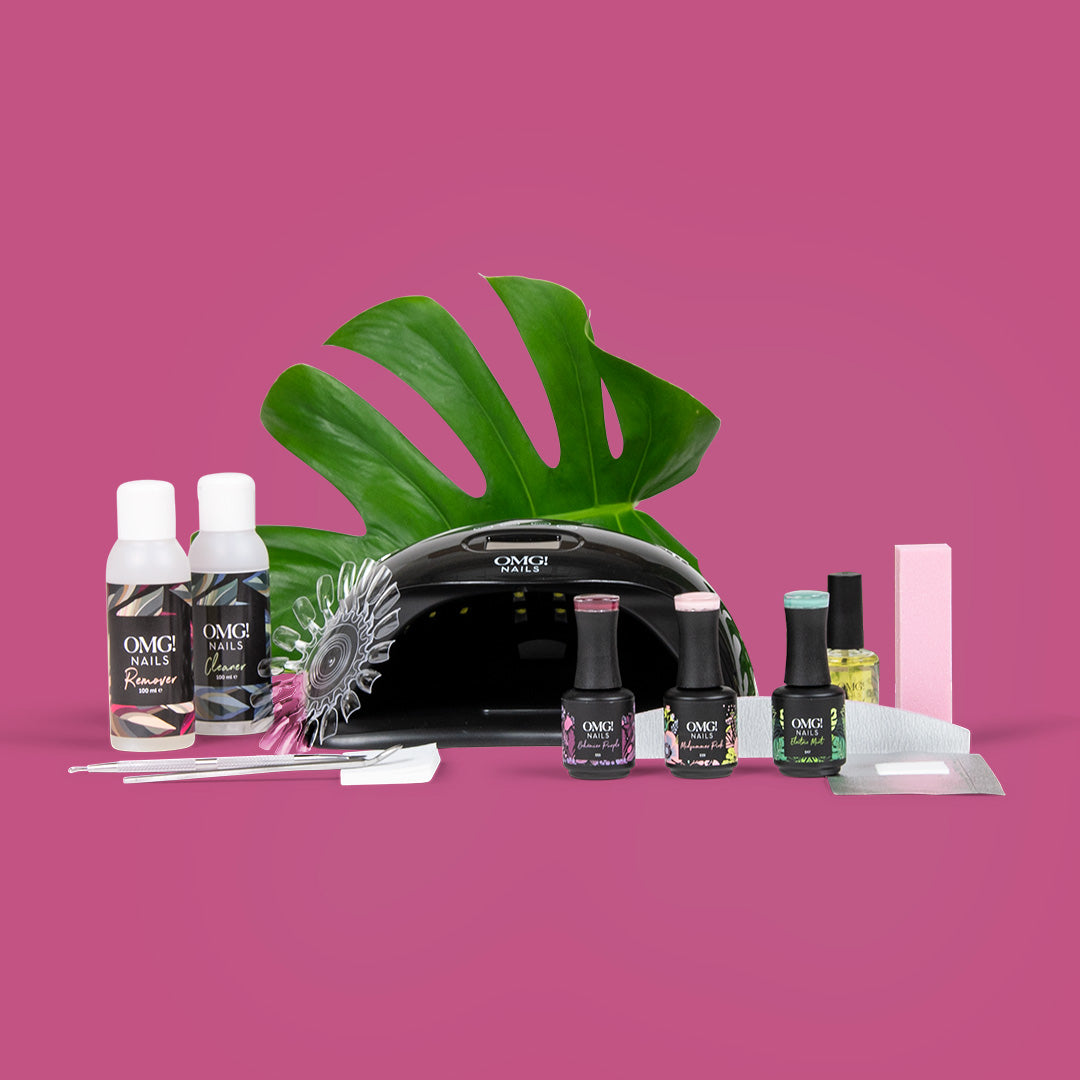
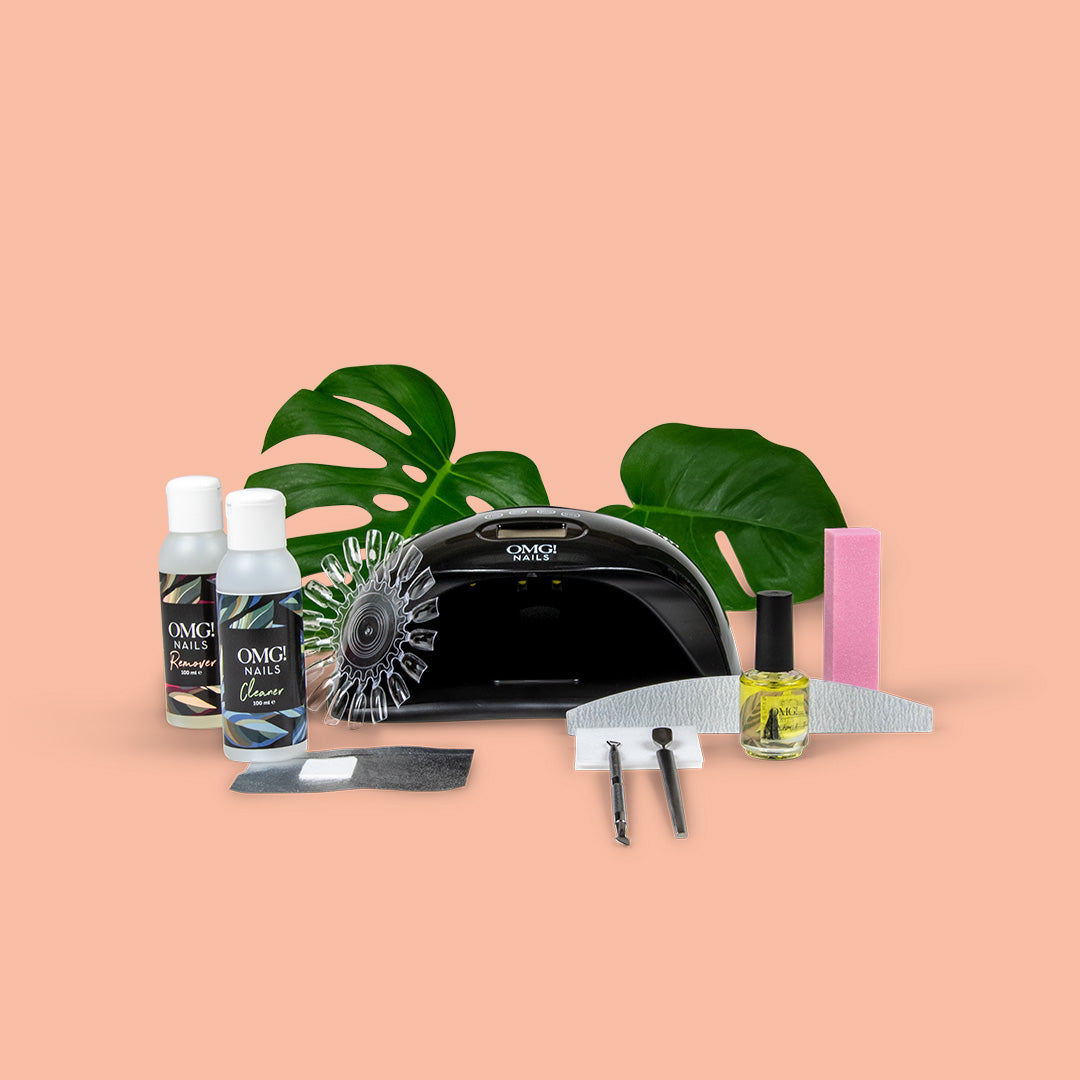
Working with the right tools is the key to beautiful nails
Create your trendy look with long-lasting beauty by using the right tools from OMG! Nails.
Cuticle pusher: for a well-groomed nail plate
With the RVS Cuticle pusher you can safely push back your cuticles and remove loose skin cells from your nail, this stimulates healthy growth of your nails. You can also use this tool to remove nail polish residue, so that your gel polish adheres even better.
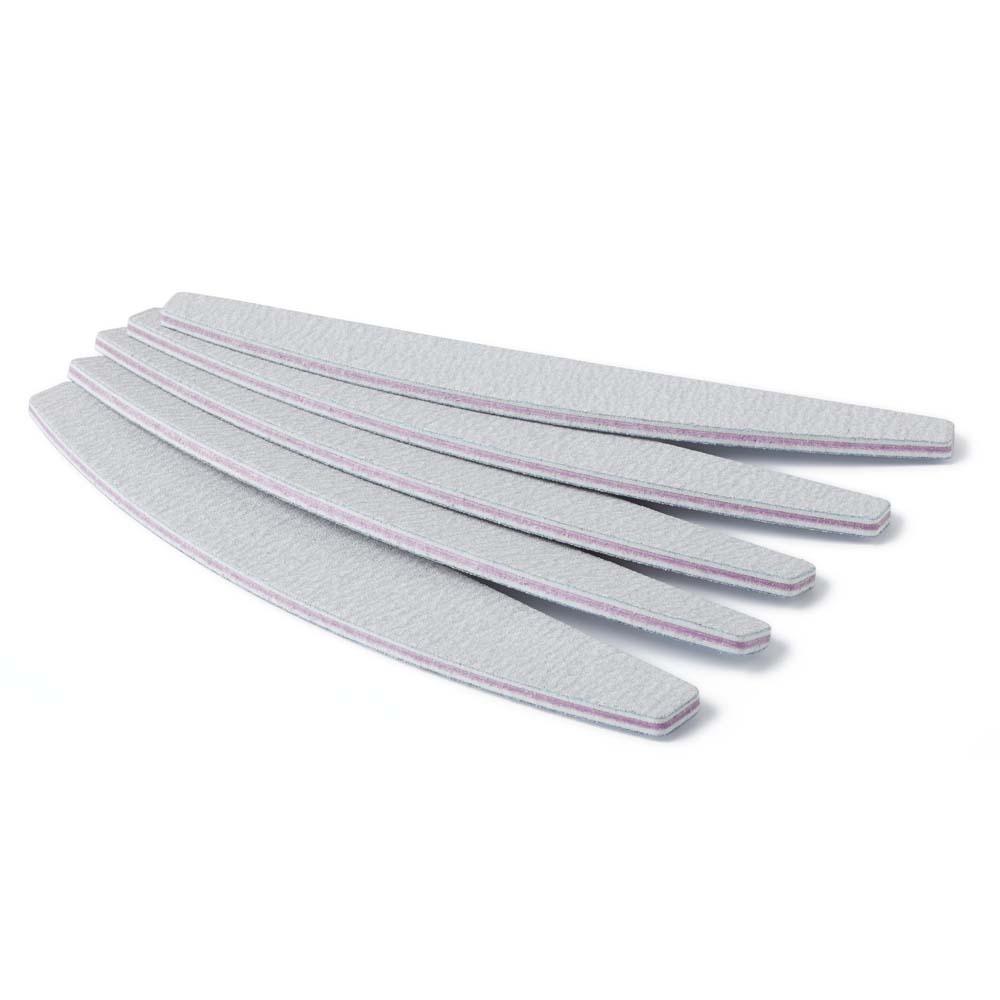
Filing: Preparing for the perfect shape for you
For a beautiful end result, it is important to file your nails in the right shape now. You can file your nails in different shapes: oval, square, pointed and round. The shape in which you can file your nails depends on the growth and shape of your nails. See for yourself what you think looks best on your hands. In this blog you can read tips about correct filing and different nail shapes. The 180 grid side is the finer side of the file and is best used for filing your nails into shape.
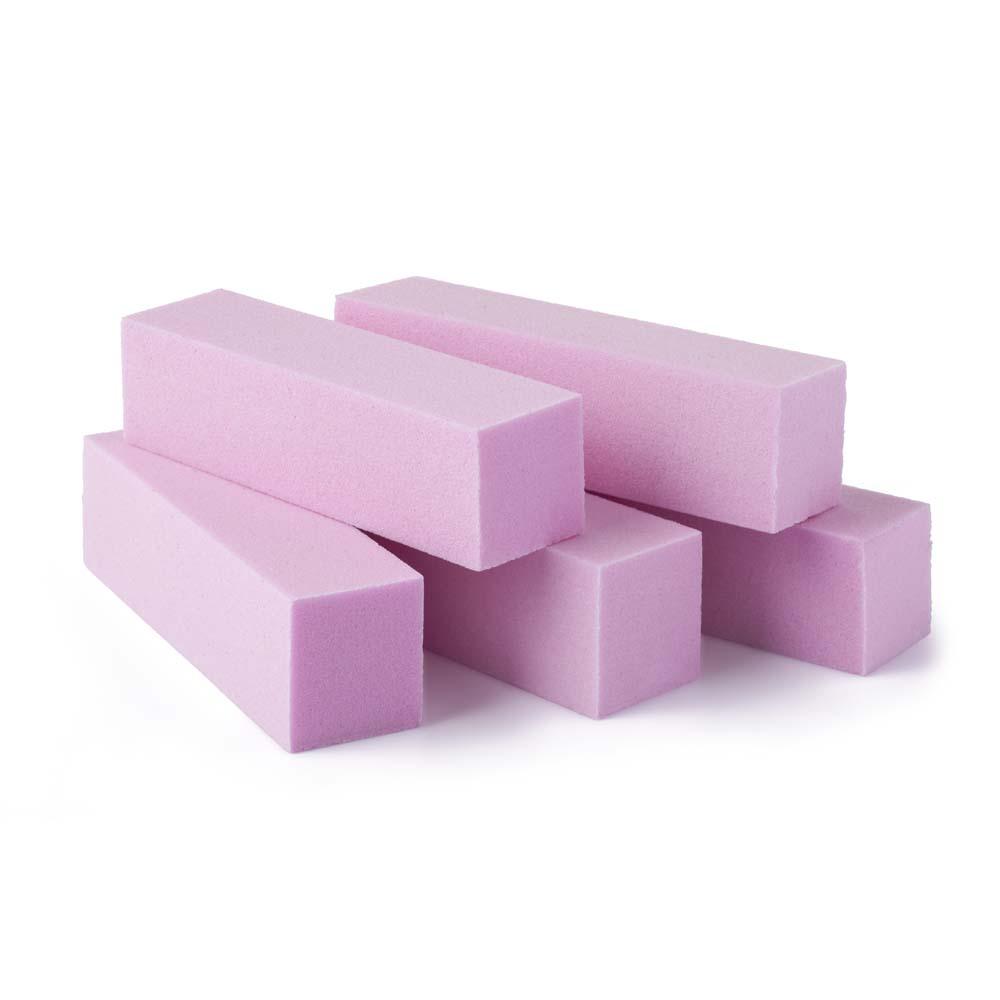
Buffer block: for the best adhesion of your gel polish
With our buffer block you can lightly roughen the top of your nails, an essential step for a good adhesion of the gel polish to be applied. The buffer block is a kind of polishing block that removes dead skin cells and removes the fatty layer from your nails. Even after removing the nail polish, there are often very small residues left behind, with the buffer block you can safely remove these without damaging the natural nail. Remove your gel polish safely with these instructions.
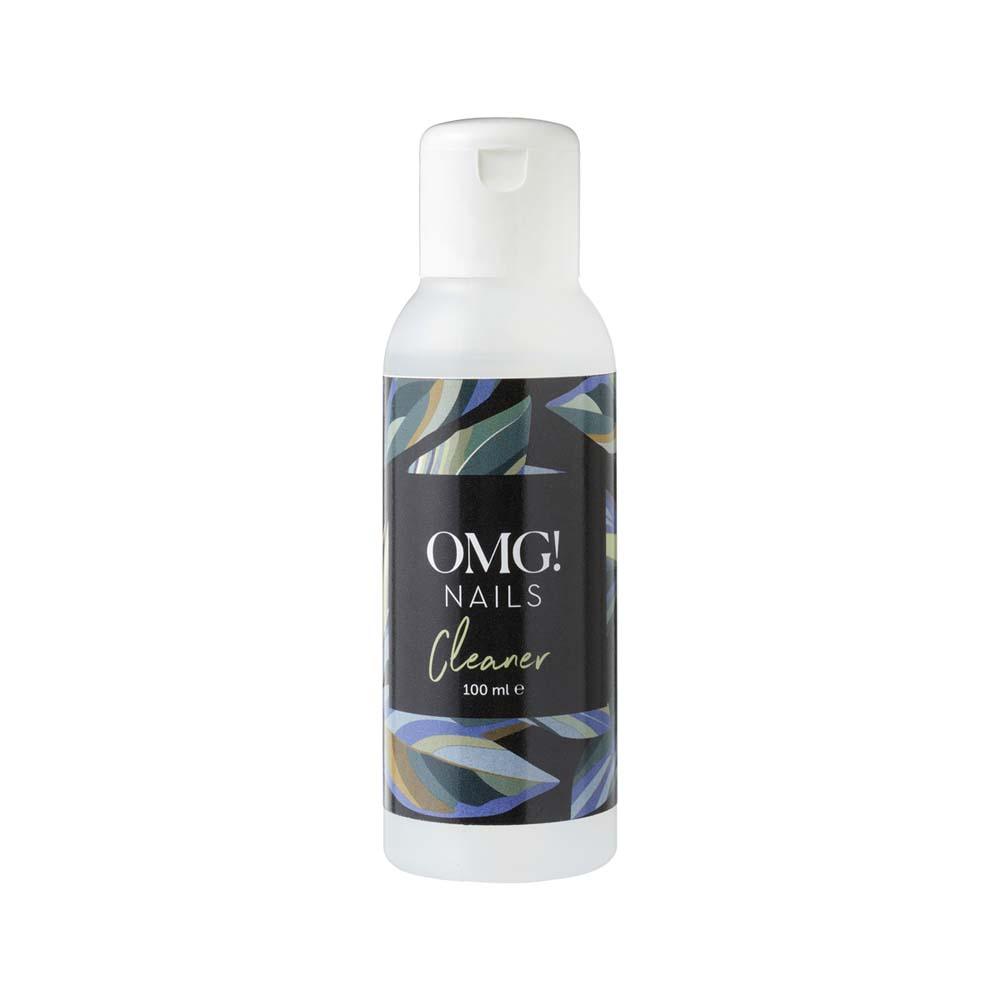
Gel Polish Cleaner: Clean, Cleaner, Cleanst
For good adhesion of the gel polish it is important that the nails are well degreased after pushing back the cuticle and roughening the nail. Use our Cleaner liquid and lint-free wipes for this.
Our Cleaner also removes the sticky layer of the Top Coat after you have cured it under the lamp. A common mistake is to use a regular remover without acetone. This does not benefit the adhesion of the gel polish. So always use a Gel Polish Cleaner to degrease and remove the sticky layer of the top coat.
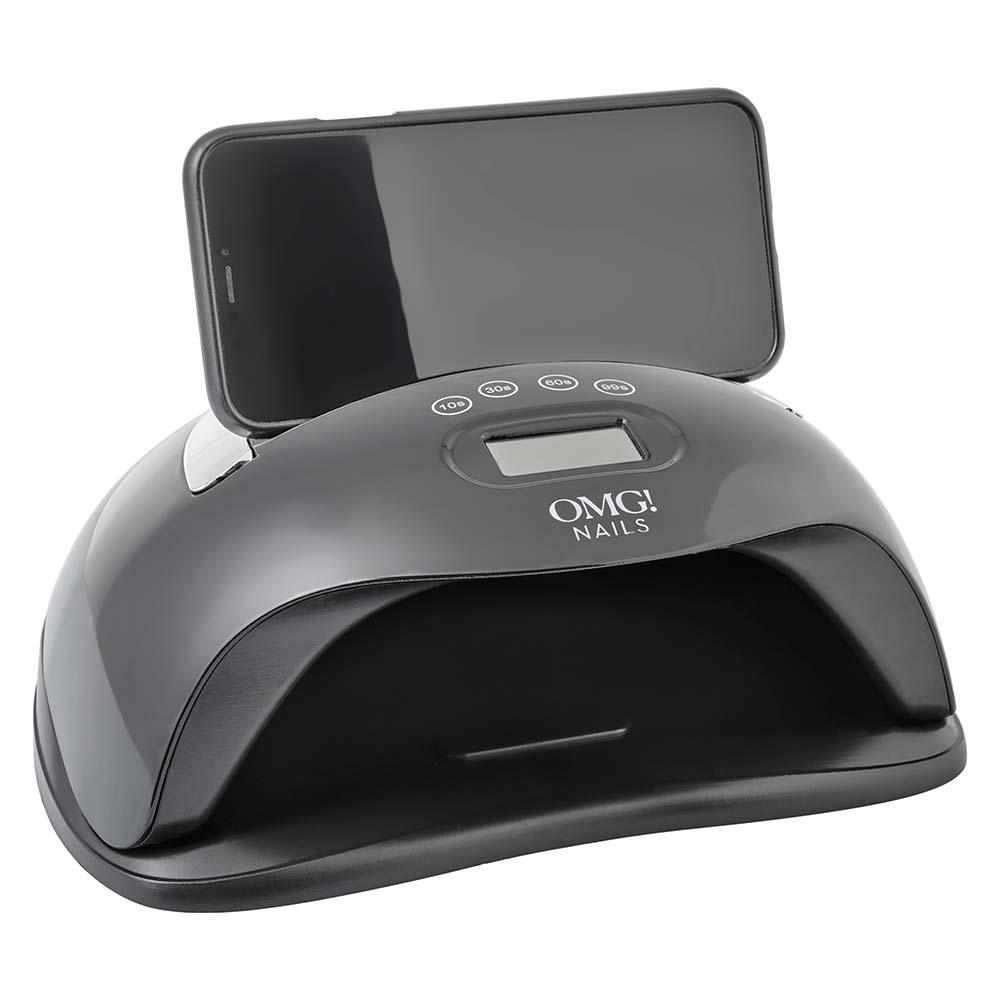
The OMG! Pro LED lamp: Indispensable!
The main difference between regular nail polish and gel nail polish is that you harden the latter under a special gel polish lamp (also called a nail lamp). This is also the most essential tool for your gel polish manicure. The light ensures that the gel polish hardens properly. If you do not use such a nail polish lamp and the right gel polish, your polish would dry, but with a much less beautiful and durable effect. Without a UV gel polish lamp, gel polish has no added value.
Which Gel Polish Lamp to Buy? UV or LED
A gel polish lamp or nail polish lamp works on the basis of UV light. The only difference between a so-called UV gel polish lamp and an LED version is the wavelength of the light. LED lamps have a more limited wavelength, but do emit a higher concentration of UV light. This also means that these lamps can dry your gel nail polish even faster. In addition, an LED gel polish lamp lasts longer. This means that you will benefit from the results of this ultimate home manicure many times more often.
Step-by-step plan for using the nail polish lamp
The best UV LED gel polish lamp can be found at OMG! Nails. With our gel polish lamp, you get a lamp that ensures a result that is indistinguishable from a professional salon manicure. If you want to do your own manicure at home, start by cleaning your nail surface so that the Base Coat adheres well. After applying the base coat, place your hand under the lamp for 60 seconds. Each layer of colored gel polish and the Top Coat should also be cured under the lamp for a minute. You can find the extensive instructions for all steps here.
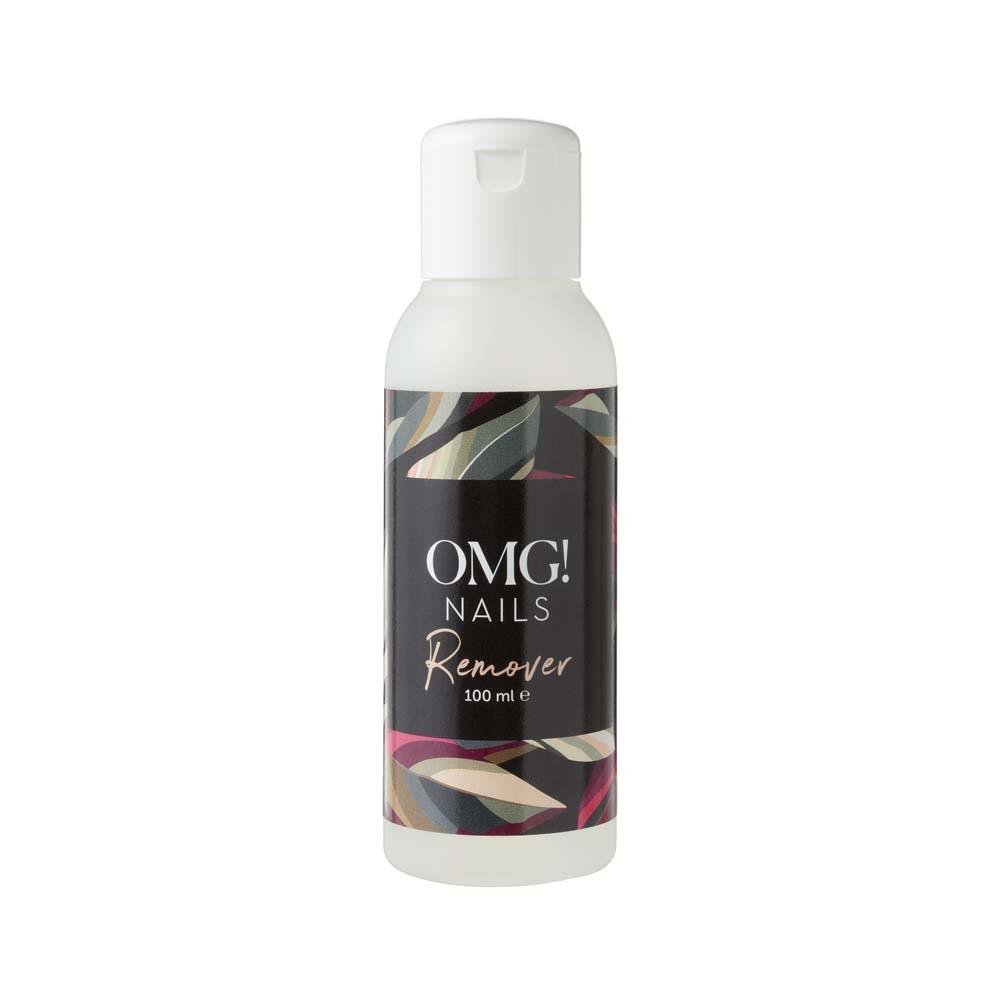
Gel Polish Remover: safely remove your gel polish
Gel polish will stay on your nails for at least two weeks. The way you apply it will help it adhere to your nails better. Do you see any outgrowth, cracks or changes in the colour? Then it is time to remove your nail polish with a gel polish remover. This is slightly different from regular nail polish remover, but with the right product this is not a difficult task. Gel polish remover is a product that can be used to remove your nail polish and protect the health of your nails.
The step-by-step plan for gel polish remover
Very occasionally, pure acetone is used as a cheap alternative. However, this is harmful in the long run. Gel polish remover is also a nail polish remover with acetone as the main ingredient, but other, milder substances have been added to it so that your nail and skin do not dry out. To remove the gel with gel polish remover, you follow a specific step-by-step plan. For example, you start by filing open the top layer, after which you let the gel polish remover soak in. You can then use the tools to scrape the gel polish off your nail. In our blog Removing UV Gel Polish, everything is explained step by step.
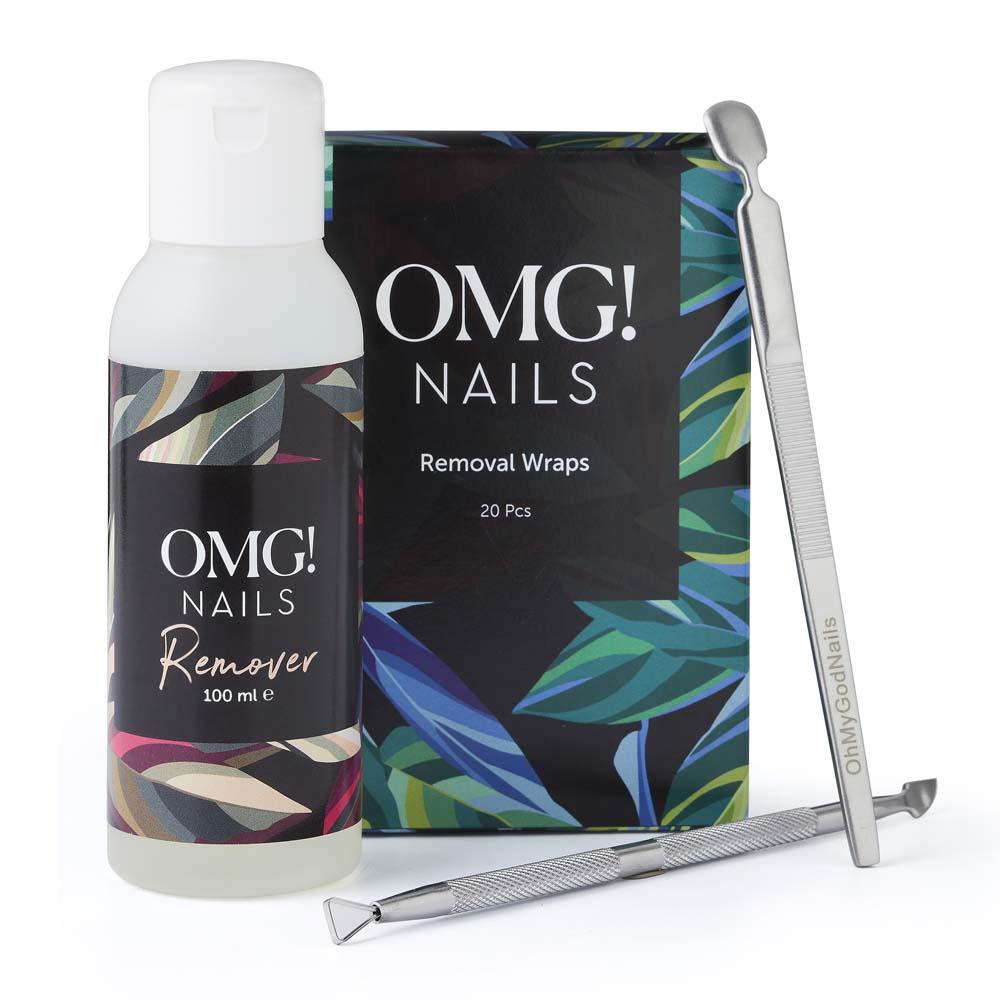
Removal wraps: ready to use
With the ready-made removal wraps you can easily remove your gel polish. The built-in nail wipe is attached to the foil. So you don't have to tinker with cotton pads and aluminum foil to make everything to size and cut it. These removal wraps are ready to use. The nail wraps also need less liquid than normal cotton pads, so you also save liquid.
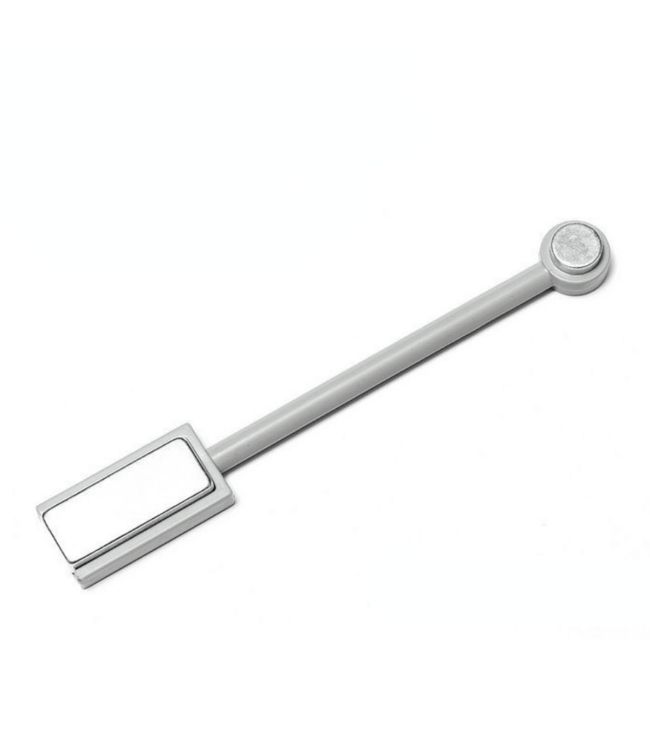
Remover tool: safe and secure removal
The stainless steel remover tool (also called scraper) has a triangular shape on one side that is specially designed to scrape off the nail polish in a safe way. For this step, first soak the nails with the OMG Remover and OMG Removal Wraps. The other side of the tool has a point with which you can remove dirt and nail polish under your nail and in small corners.
Create Magical Looks with Cat Eye Gel Polish
Discover the magic of our Cat Eye Gel Polish with a magnet! This innovative nail polish creates a beautiful cat eye effect on your nails. With just one swipe of the magnet over the still wet nail polish, you transform your manicure into a beautiful work of art. Check out our blog - specifically for applying Cat Eye Gel Polish - here.