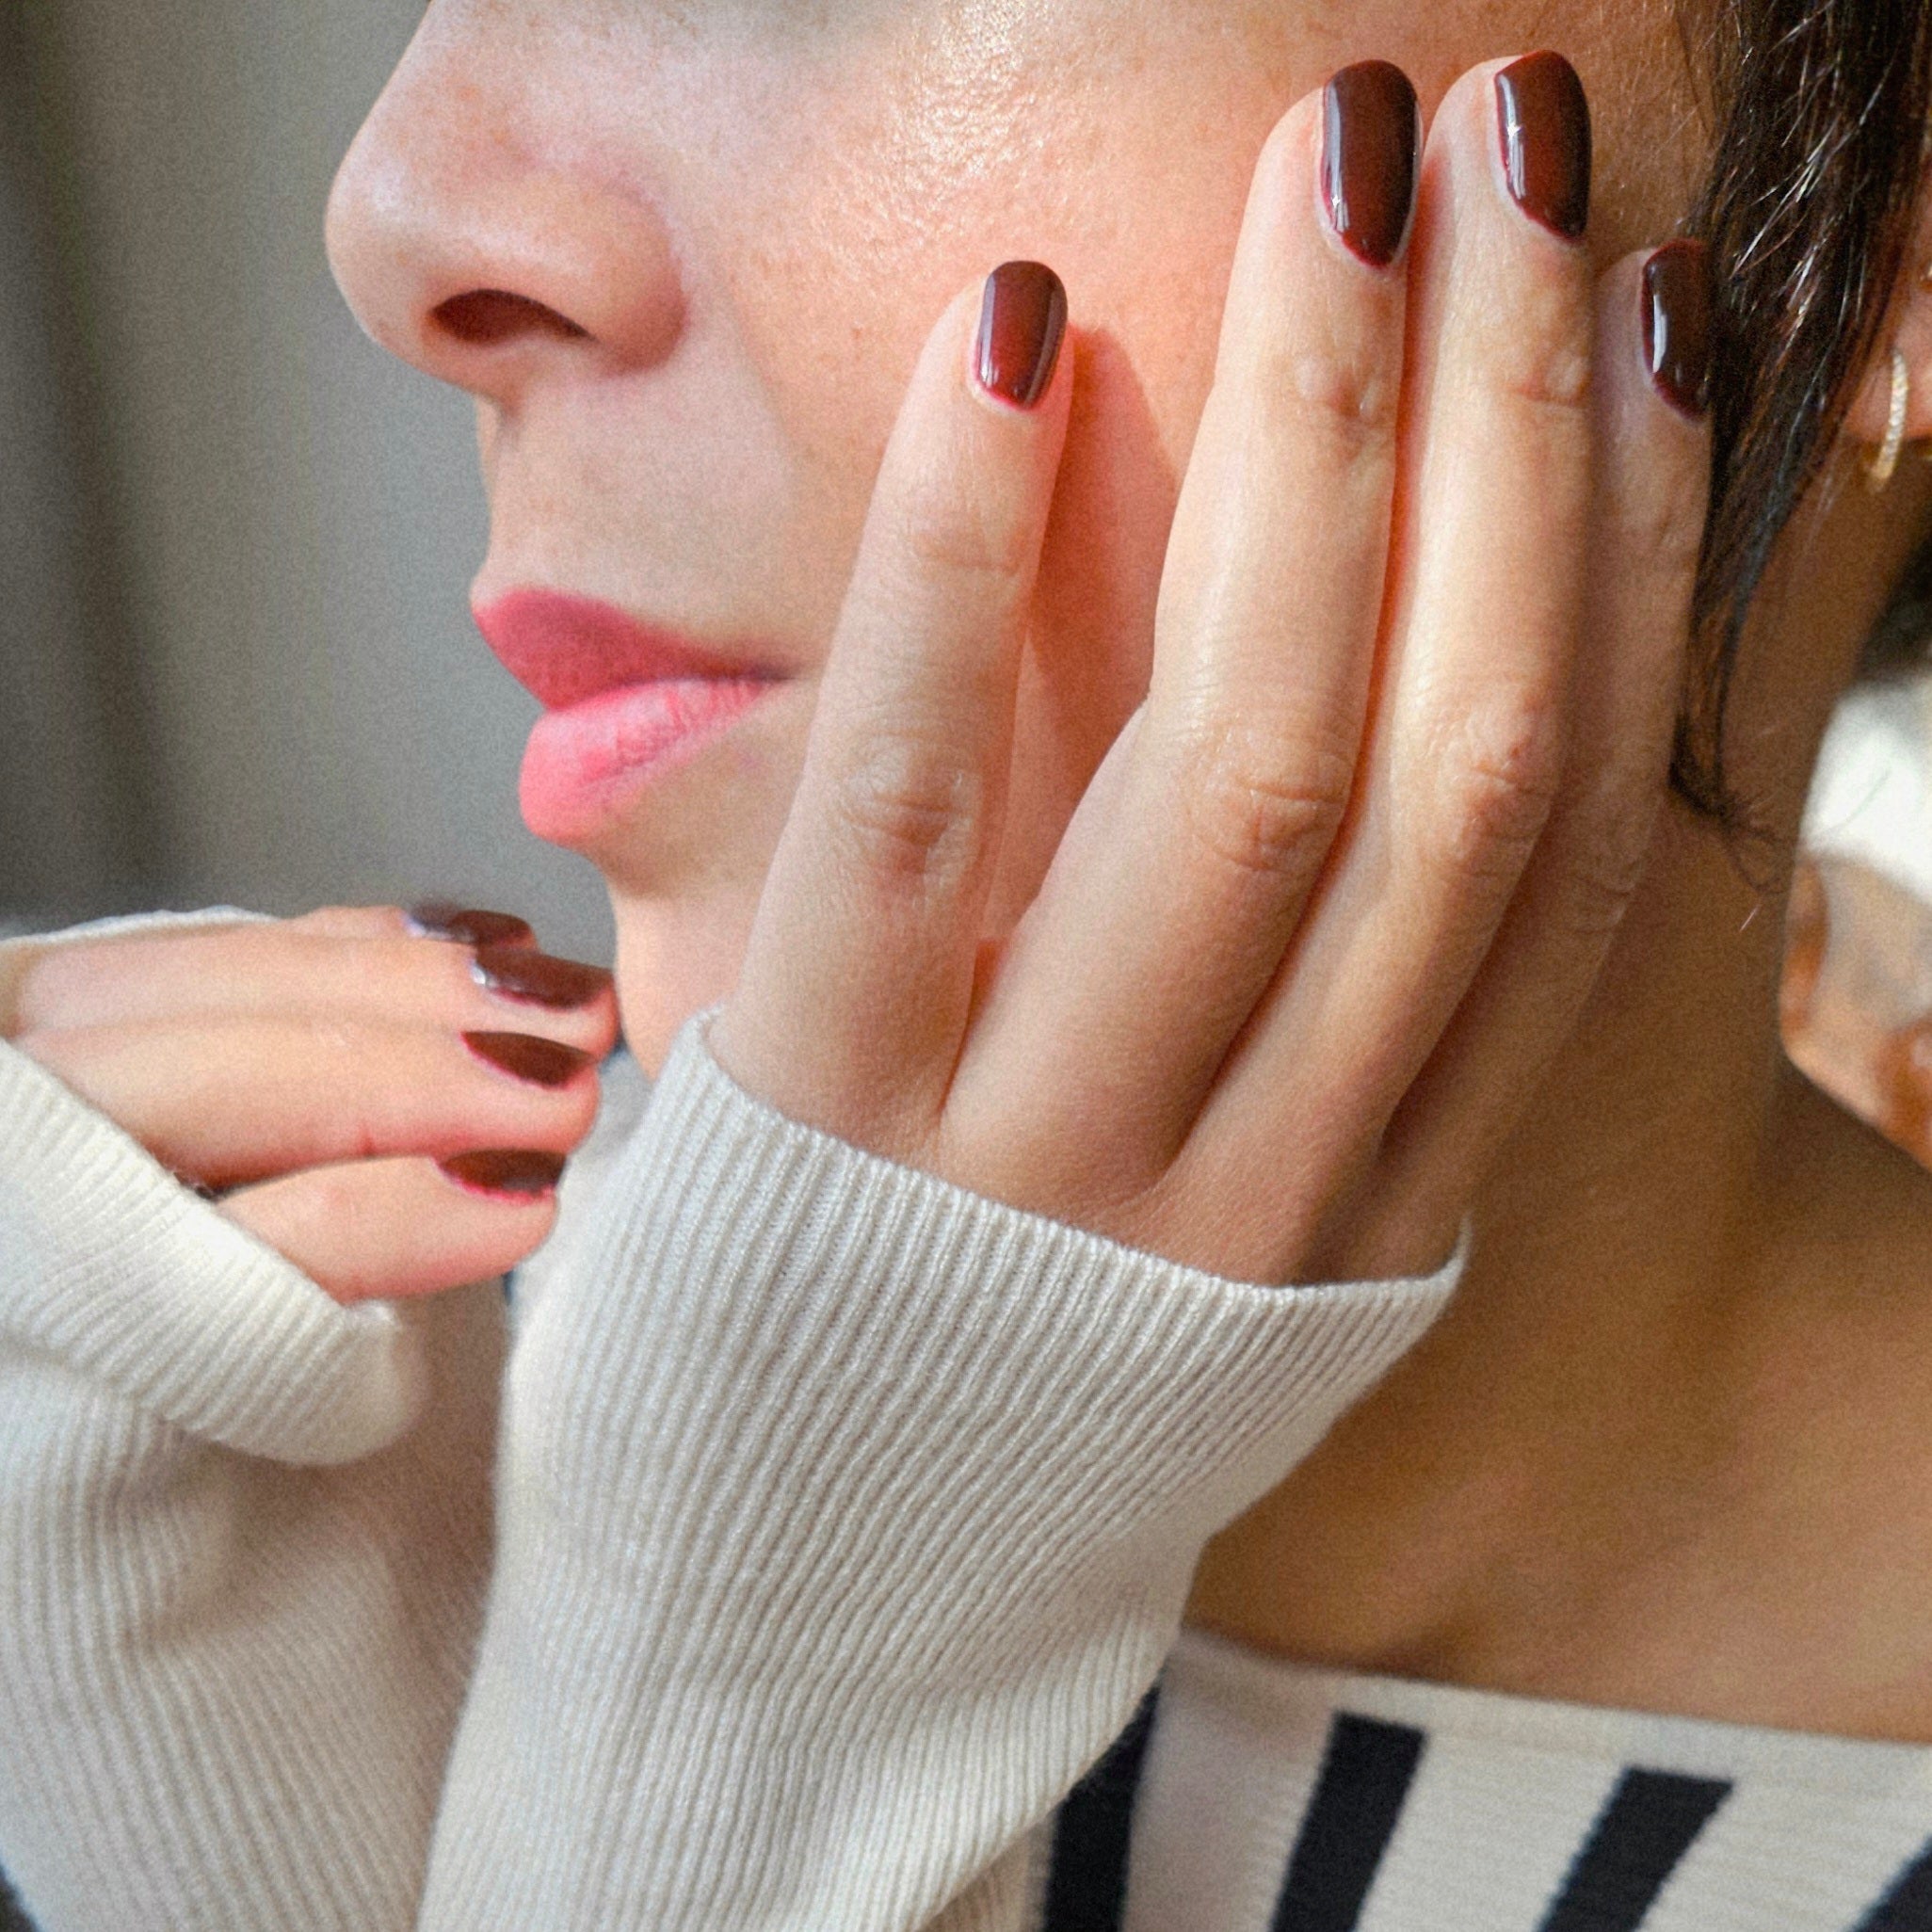

Does your gel polish come off before 2 weeks? Or is the result not what it should be? That is of course annoying and certainly does not have to happen. If this does happen, there is a good chance that something went wrong during application. Below you can read what may have gone wrong. If you pay close attention to this, it will definitely go well next time.
We sometimes compare it to baking pancakes. The first one often fails. But after the right amount of butter, lump-free batter, heat of the pan in order and turning on time you have the perfect pancake.
Good things take time
If you actually have too little time or you are in a hurry, it is better to choose another moment to do your nails. Make sure to take a moment for yourself where you can relax. For us it has really become a hobby and a moment of relaxation. With a great result that makes us happy. All good things take time, give yourself that too!
And then there was light
If you are going to apply your nail polish, you always do this indoors because the gel polish hardens in UV light from outside. But if you are indoors, you do need good light. If you are in a place that is too dark, make sure you have a simple desk lamp so that you can see what you are doing. If there is too little light and you cannot see what you are doing, the nail polish can get on the surrounding skin or cuticles. If that happens, the polish will move and air and water will get underneath. This causes the gel polish to detach.
You have a lamp from another brand
If you already have a lamp from another brand, this may work fine. But we cannot determine this remotely. We have a UV LED lamp of which we know for sure that curing each layer takes 60 seconds. If you are unsure about your lamp, it is better to buy a new one. Our lamp is tuned to all products and also has a holder for your phone.
Curing time
Each layer must cure for 60 sec in our lamp. If you already have a lamp at home, it is good to check what the curing time is. Doubts? Treat yourself to a new lamp. The curing does not have to be longer than 60 sec and also not shorter. If you do this, there is a chance that the adhesion of the next layer is not good and then the gel polish will come loose.
No proper preparation
It's like going on vacation. You think carefully about what you need to take with you and you often have a list that you work through so that you don't forget anything. It's the same with applying gel polish. And an essential step is preparation. Make sure of the following before you start:
- Make sure your hands are clean. If you have just washed your hands, dry them well and wait half an hour before applying the gel polish. Then you know for sure that the moisture has dried well in the air. Moisture is very bad for the adhesion of the nail polish;
- Push back your cuticles with the Pusher from the OMG! Nails Tools set . Also remove skin from your nail bed with it;
- File your nails into the desired shape with the fine side of the file ;
- Roughen your nails with the buffer block . It is also important to replace the buffer block regularly. The buffer block is intended to roughen your nails and remove the last skin and grease. If your buffer block is no longer rough, it becomes a polishing block. In that case, you only make your nails smoother and the gel polish will no longer adhere properly;
- Remove dust and grease from nails with the OMG! Nails cleaner ;
Remove dust and grease
This step is described in the previous point. This is a very important step. If you leave the dust from roughing and filing on your nails, the nail polish will not stick. Use the cleaner fluid for this. A common mistake is that people use a bottle of nail polish remover that is still in the cupboard to 'clean' their nails. It may look like it, but it does not guarantee that the nail bed is also free of grease. In addition, the remover contains substances that dissolve the nail polish. So always use the cleaner fluid. Also make sure that you do not touch your hair or face after degreasing your nails. Your skin and hair are always a bit greasy.
The application is not going correctly
When applying the gel polish, make sure you don't touch the cuticles or the surrounding skin. Sounds very logical, but only apply the gel polish to the nail and to the entire nail bed. See also our highlights on Instagram and instructions on OMG Adacemy .
Applying too thick layers
If you use too much product, there is a chance that the layer will not harden sufficiently in the lamp. So apply thin layers. Most colors are covered in 2 layers. But because you have to apply thin layers, some colors are better applied in 3 layers. This really depends on the coverage of the color. Light colors such as Salmon Nude for example are best in 3 layers while Cherry Red only needs 2 layers.
Not sealing your nails properly
When applying each layer, it is important that you also provide the edge of your nail with the gel polish. Brush along the edge of your nail with the brush. This seals the nail from air and moisture. Do this with the Basecoat , the color layers and the Topcoat .
Never pick!
If something does come loose somewhere. Because you may have hit your nail hard and a piece has come off or it has been almost 2 weeks since you applied the gel polish, do not pick at your gel polish. It is very tempting, but do not do it. Always remove your gel polish safely. See also our highlights on Instagram and instructions on OMG! Adacemy . If you do not do this, there is a chance that you can damage your own nails. They will become thin and uneven. This is also not good for the adhesion of a new round of gel polish.
Your nails are not tools…
Is a can not opening so easily? Or is that last pistachio nut in the bowl really still too closed? Then take something with which you can open it. Your nails are not made of steel and therefore no tools. Long nails and nails that are a bit more square are also more sensitive to cracks or damage.